
Starting a live stream in India has never been more accessible or rewarding. Whether you want to stream games, create educational content, perform music, or just chat with an audience, this guide covers everything you need to know. We have broken down the entire process into simple, actionable steps – from choosing equipment on a budget to setting up your first UPI donation alert with Stream Alert. By the end of this guide, you will have a clear roadmap for your first 30 days as an Indian streamer.
This guide is specifically written for Indian creators. The equipment recommendations use Indian pricing and availability, the internet advice is based on Indian ISPs and broadband plans, the platform recommendations account for India’s unique audience dynamics (YouTube dominates over Twitch here), and the monetization setup uses India’s UPI payment system – the fastest and most cost-effective way for your viewers to support you financially.
What is the best software for Twitch streaming?
The best Twitch streaming software depends on your goal. OBS Studio is the most flexible free option for live broadcasting. Streamlabs builds on OBS with a friendlier interface and built-in alerts. Restream covers multistreaming to several platforms at once. Gyre is a cloud-based tool for 24/7 live streaming with pre-recorded content, keeping channels active when the streamer is off camera.
What Kind of Content Can You Stream?
Streaming isn’t limited to gaming anymore. Here are popular categories for Indian streamers in 2026:
Gaming: BGMI, Free Fire, Valorant, GTA V RP, Minecraft, Cricket games, FIFA
Just Chatting: Talk shows, Q&A sessions, reaction content
Educational: Coding tutorials, exam preparation, skill development
Music: Live singing, instrument practice, music production
Art & Creative: Digital art, traditional art, craft tutorials
Cooking: Indian recipe streams, cooking challenges
Tech: Product reviews, unboxing, tech tutorials
Internet Requirements for Streaming in India
Internet speed is the one thing where you genuinely cannot compromise. Here’s what you need to know about streaming internet requirements in India:
Creating Your Streaming Schedule
Consistency is the single most important factor for growing as a streamer. Viewers want to know when they can find you live. Here’s how to create a schedule that works:
common Mistakes to Avoid

Every new streamer makes some of these mistakes. Avoid them and you’ll be ahead of 90% of beginners:
Technical Mistakes
Not testing before going live: Always do a 5-minute test recording before each stream. Check audio levels, game capture, and overlay placement.
Bitrate too high for your internet: If your upload speed is 10 Mbps, don’t set bitrate above 4,000 kbps. Dropped frames ruin the viewing experience.
Bad audio: Viewers will tolerate bad video but not bad audio. Invest in a decent mic before a webcam.
Not monitoring chat: Set up a second device (phone or tablet) to read chat, or use the YouTube Studio chat popout.
Content Mistakes
Playing over-saturated games only: While BGMI and Valorant are popular, there’s massive competition. Mix in smaller games where you can stand out.
Not talking enough: Even when nobody is in chat, keep talking. Narrate what you’re doing. New viewers might join at any moment.
Streaming for too long: A focused 2-3 hour stream beats an unfocused 8-hour marathon. Quality over quantity.
No title or thumbnail optimization: Your stream title and thumbnail are what make people click. Write descriptive, engaging titles in Hindi and English.
Growth Mistakes
Expecting instant success: Most successful streamers took 6-12 months to build an audience. Be patient.
Not networking: Connect with other small Indian streamers. Raid each other, do collabs, support each other.
Ignoring YouTube Shorts: Shorts from your stream clips can bring 10x more subscribers than the stream itself.
Not setting up donations early: Even with 5 viewers, have your donation link ready. You’d be surprised who donates.
How to Make Your YouTube Live Streams Actually Good
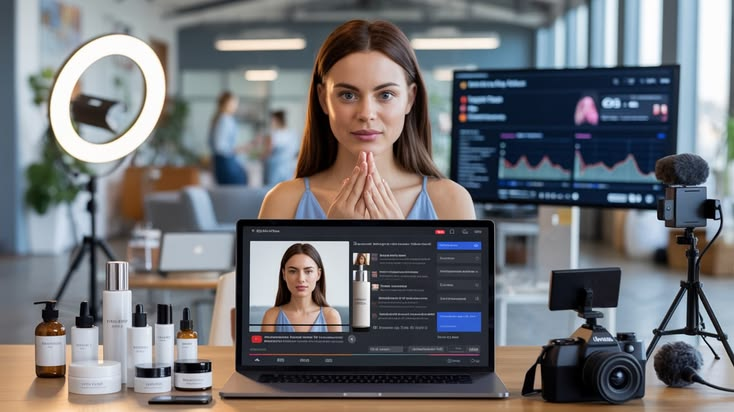
Once you’ve gone live a few times and the basics feel comfortable, here’s how to level up:
Use a Custom Thumbnail
Streams with custom thumbnails get significantly more clicks than those with auto-generated ones. Design a thumbnail that looks like your regular video thumbnails; consistent branding helps people recognize your streams.
Enable Live Chat and Moderation
In YouTube Studio, you can add moderators to your chat, set up keyword filters to block spam, and pin important messages. Do this before your stream starts, not during.
Promote Your Stream in Advance
Don’t just go live and hope people show up. Post about it on your community tab, social media, and email list at least 24 hours before. Give people a reason to show up. “Live tutorial on [specific topic] at 3 PM” works better than “going live soon.”
Check Your Analytics
After your stream, check YouTube Studio analytics to see:
Peak concurrent viewers (when was your stream most popular?)
Average watch time (how long did people stick around?)
Traffic sources (where did viewers come from?)
Use this data to improve your next stream.
Consider Pre-Recorded Live Streams
Not every “live” stream needs to be truly live. With tools like Upstream, you can schedule a pre-recorded video to play as a live stream. This lets you:
Edit your content before it goes live (no mistakes, no dead air)
Go live at optimal times without actually being there
Run 24/7 live streams on YouTube with minimal effort
This is especially useful if you want the benefits of live streaming (YouTube prioritizes live content in recommendations, live streams can be monetized with ads) without the pressure of performing live every time.